AI Conversation
Soldering techniques
One fun fact about soldering is that the technique dates back over 5,000 years, with evidence of soldered artifacts found in Mesopotamia. Ancient civilizations used a mix of lead and tin, similar to modern solder, to join metal pieces together.
https://www.youtube.com/watch?v=6rmErwU5E-k
soldering iron
https://www.youtube.com/watch?v=FTYDSCUUDSQ
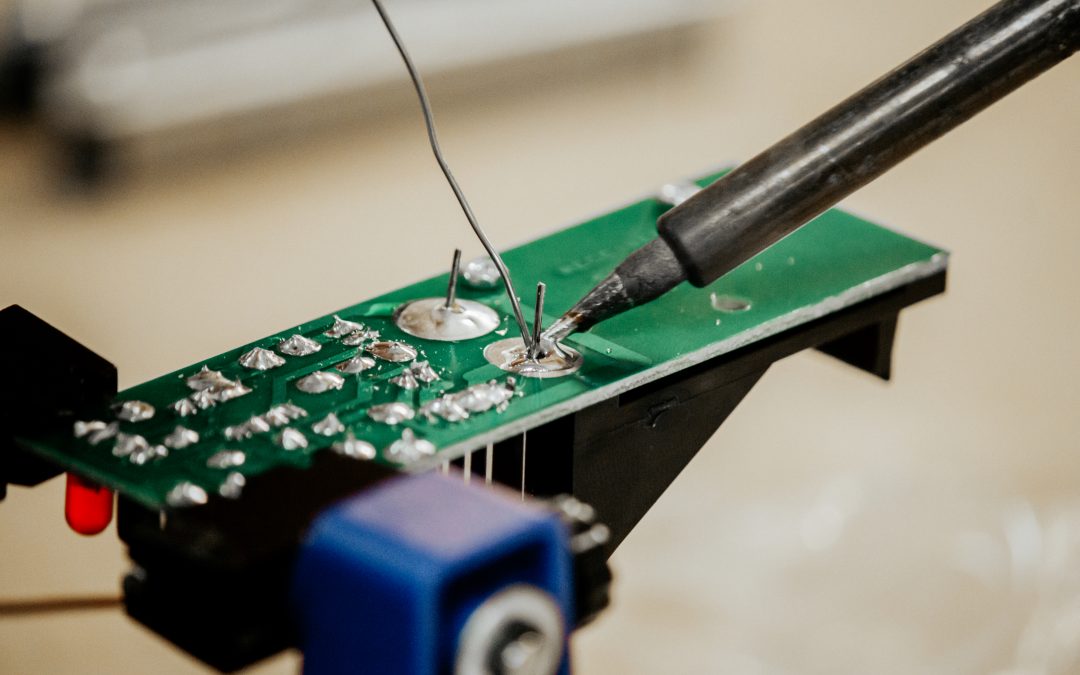
A soldering iron is a crucial tool in soldering techniques, used to melt solder and join metal components. It provides precise heat control, essential for creating reliable electrical connections. Available in various types, including adjustable temperature models, it is widely used in electronics, plumbing, and metalwork for efficient assembly.
https://www.youtube.com/watch?v=UpVx4wGukRc
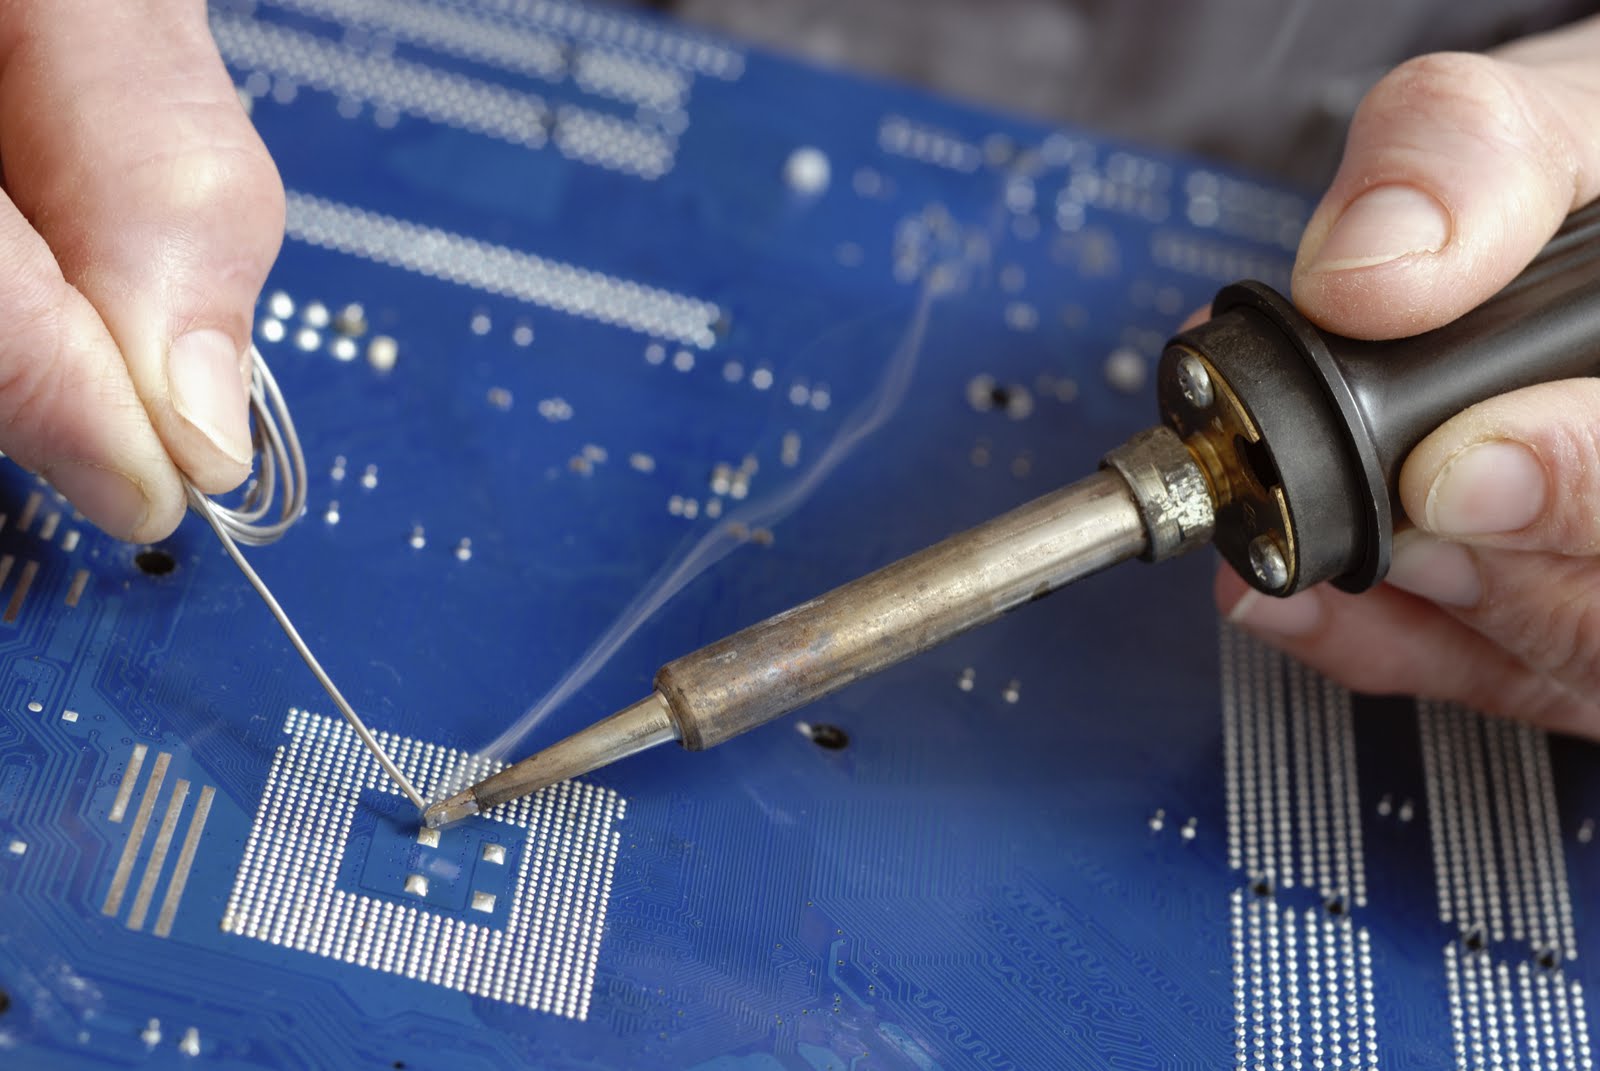
Solder is a fusible metal alloy used to join metal workpieces in soldering. It typically consists of tin and lead, or lead-free alternatives like tin-copper. Soldering techniques involve heating the solder to its melting point, allowing it to flow into the joint, creating a strong, conductive bond upon cooling.
flux
https://www.youtube.com/watch?v=OWNAjwhwzro
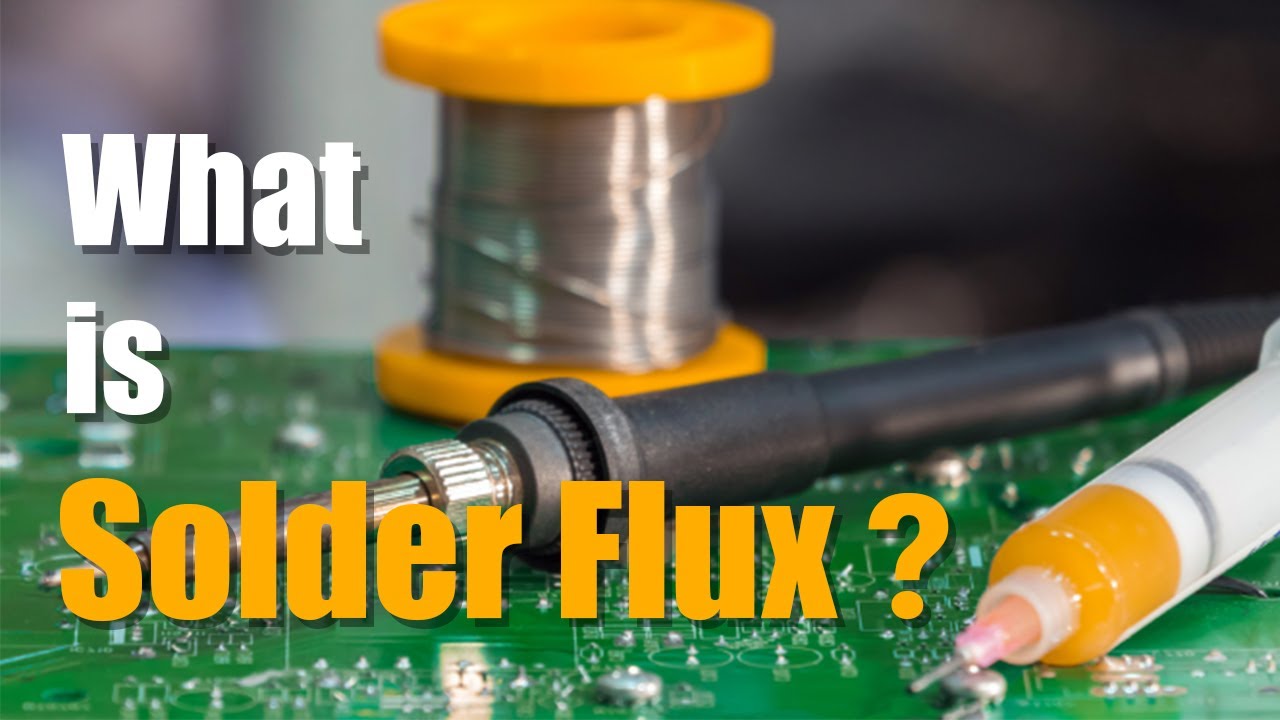
Flux is a crucial component in soldering, facilitating the bonding process by cleaning and preventing oxidation on metal surfaces. It enhances solder flow and adhesion, ensuring strong, reliable joints. Various types, including rosin, water-soluble, and no-clean flux, cater to different applications and requirements in electronics and metalwork.
soldering tip
https://www.youtube.com/watch?v=l0csCh3A8OM
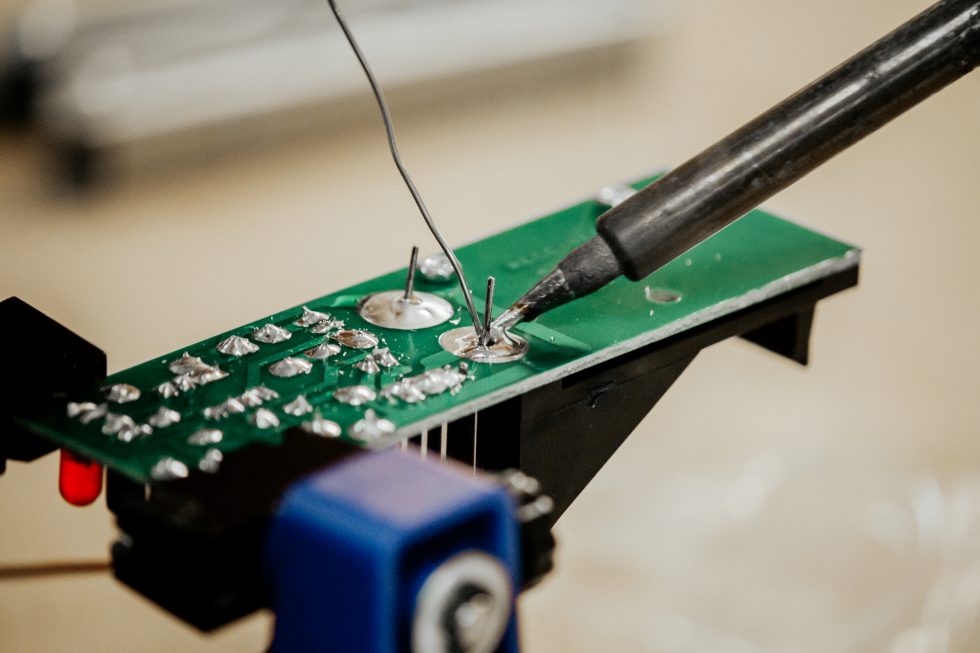
Soldering tips are crucial components in soldering techniques, influencing heat transfer and precision. They come in various shapes and sizes, tailored for specific tasks. Proper maintenance, including regular cleaning and tinning, extends their lifespan. Selecting the right tip enhances efficiency, ensuring strong, reliable joints in electronic and metalwork applications.
desoldering
https://www.youtube.com/watch?v=bG7yW9FigJA
Desoldering is a crucial technique in electronics, involving the removal of solder from components or circuit boards. It is essential for repairing, reworking, or replacing components. Common methods include using desoldering pumps, wicks, or hot air rework stations. Mastery of desoldering ensures precision and prevents damage to electronic assemblies.

heat sink
https://www.youtube.com/watch?v=gl9NuCiDR7s

In soldering, heat sinks are crucial for dissipating excess heat, protecting sensitive components from thermal damage. They absorb and disperse heat away from the solder joint, ensuring stable connections. Effective heat sink use involves selecting appropriate materials and designs to maintain optimal temperatures during soldering processes, enhancing reliability and performance.
pcb
https://www.youtube.com/watch?v=y0InEFdWfZc
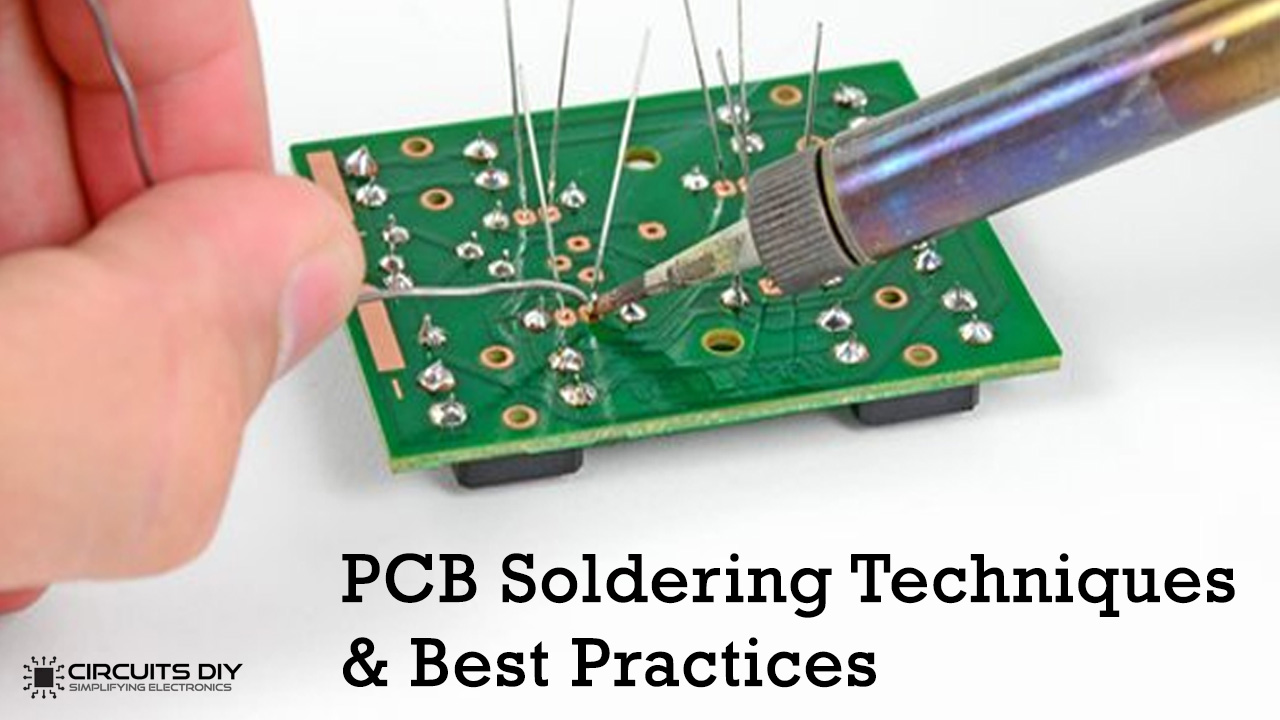
Printed Circuit Boards (PCBs) are crucial in electronics, serving as the foundation for soldering components. Key soldering techniques include through-hole and surface-mount technology (SMT). Through-hole involves inserting component leads into drilled holes, while SMT places components directly onto the board's surface, enhancing efficiency and miniaturization in modern electronics.
soldering station
https://www.youtube.com/watch?v=dpkPyS5aOA0
A soldering station is an essential tool in soldering techniques, providing precise temperature control for effective soldering. It typically includes a soldering iron, stand, and temperature control unit, ensuring consistent heat application. This enhances joint quality, reduces thermal damage, and is ideal for intricate electronic work and repetitive tasks.

AI Report
Essay
**Soldering Techniques: An Overview**
Soldering is a critical process in electronics, used to join two or more electronic components together by melting solder around the connection. This technique is crucial in creating reliable electrical connections and is widely used in the manufacturing and repair of electronic devices. Understanding the various soldering techniques can significantly enhance the quality of work produced in both professional and hobbyist settings. This essay will explore several key soldering techniques: through-hole soldering, surface mount soldering, reflow soldering, and wave soldering, emphasizing their applications and best practices.
Through-hole soldering is one of the most traditional methods used in the electronics industry. It involves inserting component leads through holes in a printed circuit board (PCB) and then soldering them on the opposite side. This technique is particularly useful for components that require a strong mechanical bond, such as connectors and larger components (Sullivan, 2020). When performing through-hole soldering, it is essential to ensure that the PCB is heated adequately and that the solder flows smoothly to create a good joint. Common issues, such as cold solder joints and solder bridges, can often be avoided by maintaining proper temperature control and using the right soldering iron tip (Gates, 2021).
Surface mount soldering, on the other hand, has gained popularity due to the miniaturization of electronic components. In this technique, components are mounted directly onto the surface of the PCB, which allows for a higher density of components and a more compact design (Freeman, 2019). Surface mount soldering can be performed using manual techniques or automated processes, such as pick-and-place machines. One common method for manual surface mount soldering is the use of solder paste and a hot air rework station. The solder paste, which contains tiny solder balls, is applied to the PCB pads, and the components are placed on top before the assembly is heated to melt the solder (Miller, 2022). It is crucial to ensure that the solder paste is applied evenly to avoid defects.
Reflow soldering is another essential technique, often used in conjunction with surface mount technology. This process involves the application of solder paste to the PCB, followed by placing surface mount components and then heating the assembly in a reflow oven (Smith, 2023). The oven gradually raises the temperature to melt the solder and then cools down, solidifying the solder joints. This method provides uniform heating and is ideal for mass production due to its efficiency and consistency. However, careful temperature control is vital to avoid overheating components and creating defects like tombstoning, where one end of a component lifts off the board due to uneven heating (Johnson, 2021).
Wave soldering is primarily used for assembling through-hole components on PCBs that have already been populated with surface mount devices. In this technique, the PCB passes over a wave of molten solder, which coats the exposed leads of the through-hole components as they dip into the solder wave (Turner, 2020). Wave soldering is particularly effective for high-volume production runs and can significantly speed up the assembly process. However, meticulous preparation is necessary to ensure that the PCB is clean and free of contaminants that could lead to poor solder joints. Additionally, using the appropriate flux is crucial to promote solder wetting and enhance the mechanical strength of the joints.
In conclusion, mastering various soldering techniques is essential for anyone involved in electronics, from hobbyists to professionals. Through-hole soldering, surface mount soldering, reflow soldering, and wave soldering each have unique applications and best practices that contribute to the reliability and quality of electronic assemblies. By understanding these techniques and their proper execution, individuals can improve their soldering skills and produce more durable electronic devices. Continued education in soldering methods will ensure that technicians remain adept in an ever-evolving field.
**References**
Freeman, J. (2019). *The Complete Guide to Surface Mount Technology*. Tech Press.
Gates, A. (2021). *Soldering Basics: A Practical Guide for Beginners*. Electronics Publishing.
Johnson, L. (2021). *Temperature Control in Soldering Processes*. Journal of Manufacturing Science, 15(3), 42-50.
Miller, T. (2022). *Hot Air Rework Techniques for Surface Mount Technology*. Electronics Repair Journal, 12(1), 15-20.
Smith, R. (2023). *Reflow Soldering: Techniques and Best Practices*. Soldering Technology Review, 18(2), 31-37.
Sullivan, M. (2020). *Through-Hole Soldering: Techniques for Reliable Connections*. PCB Design Magazine, 22(4), 27-30.
Turner, K. (2020). *Wave Soldering Techniques for High-Volume Production*. Journal of Electronic Manufacturing, 10(2), 48-55.
Lesson Plan
### Lesson Plan: Soldering Techniques for Technical Vocational Students
#### Lesson Title: Introduction to Soldering Techniques
#### Grade Level: Technical Vocational Students (High School/College)
#### Duration: 2 Hours
---
### Objectives:
By the end of this lesson, students will be able to:
1. Understand the basic principles of soldering.
2. Identify different types of solder and soldering tools.
3. Demonstrate proper soldering techniques.
4. Understand how to maintain soldering equipment.
---
### Materials Needed:
- Soldering iron and stand
- Solder (lead-free and leaded)
- Soldering flux
- Wire stripper and cutter
- Printed circuit boards (PCBs) or electronic components for practice
- Safety goggles
- Soldering mats
- Multimeter (for checking connections)
- Cleaning sponge or brass sponge
- Safety data sheets (SDS) for solder and flux
---
### Lesson Outline:
#### Introduction (15 minutes)
- **Engagement**: Begin with a discussion about the importance of soldering in electronics. Ask students where they have seen soldering used (e.g., electronics, jewelry making).
- **Objective Overview**: Briefly outline the objectives of the lesson.
#### Instructional Content (30 minutes)
1. **What is Soldering?**
- Define soldering and its purpose in joining electronic components.
- Explain the difference between soldering and other joining techniques (e.g., welding).
2. **Types of Solder:**
- Discuss different types of solder (lead-based vs. lead-free).
- Explain the composition and uses of each type.
3. **Tools and Equipment:**
- Introduce essential soldering tools: soldering iron, solder, flux, wire cutter/stripper.
- Explain the function of each tool.
4. **Safety Precautions:**
- Discuss safety measures (wearing goggles, working in a ventilated area, handling hot equipment).
#### Demonstration (30 minutes)
- **Soldering Techniques:**
- Demonstrate how to set up the soldering station.
- Show how to heat the soldering iron and apply solder to a joint.
- Demonstrate how to solder a simple connection on a PCB.
- Explain the importance of clean connections and how to use flux.
#### Guided Practice (30 minutes)
- **Hands-On Activity:**
- Divide students into small groups.
- Provide each group with soldering tools, solder, and practice PCBs.
- Instruct students to practice soldering connections while monitoring their technique.
- Circulate among groups to offer guidance and feedback.
#### Maintenance of Soldering Equipment (15 minutes)
- **Care and Maintenance:**
- Discuss how to clean the soldering iron tip (using a sponge or brass sponge).
- Explain the importance of storing tools properly and checking for damage.
- Discuss the proper disposal of solder and flux materials.
#### Conclusion and Q&A (10 minutes)
- **Wrap-Up:**
- Recap the main points of the lesson.
- Allow students to ask questions about soldering techniques and maintenance.
#### Assessment:
- **Practical Assessment:**
- Observe students during the hands-on activity to assess their technique and adherence to safety practices.
- **Written Quiz:**
- Administer a short quiz to evaluate their understanding of soldering types, tools, and safety measures.
---
### Additional Resources:
- Provide students with links to online tutorials or videos demonstrating soldering techniques.
- Suggest textbooks or manuals on electronics that include chapters on soldering.
---
### Notes for Instructors:
- Ensure all safety protocols are followed during the practical session.
- Be prepared to offer additional support to students who may struggle with the physical aspects of soldering.
- Adjust the pace of the lesson based on student understanding and engagement.
This lesson plan aims to provide a comprehensive introduction to soldering, ensuring that students not only understand the techniques but also appreciate the importance of maintenance and safety in their work.
Class Syllabus Outline
### Syllabus for Soldering Techniques Course
**Course Title:** Soldering Techniques: Fundamentals and Applications
**Course Code:** TECH 101
**Instructor:** [Instructor Name]
**Email:** [Instructor Email]
**Office Hours:** [Days and Times]
**Class Duration:** [Start Date] - [End Date]
**Class Schedule:** [Days of the Week, Time]
**Location:** [Classroom/Workshop Location]
---
#### Course Description
This course provides a comprehensive introduction to soldering techniques used in electronics and metalworking. Students will learn about the tools, materials, and safety practices necessary for effective soldering. The course will cover various soldering methods, including through-hole, surface mount, and desoldering techniques. Practical hands-on sessions will reinforce theoretical concepts, enabling students to develop proficiency in soldering skills.
---
#### Course Objectives
By the end of this course, students will be able to:
1. Understand the basic principles of soldering and its applications.
2. Identify various types of solder and flux and their appropriate uses.
3. Demonstrate proper use of soldering tools and equipment.
4. Execute different soldering techniques, including through-hole and surface mount soldering.
5. Troubleshoot common soldering issues.
6. Apply safety practices for soldering processes.
---
#### Course Outline
**Week 1: Introduction to Soldering**
- Overview of soldering in electronics
- History and evolution of soldering techniques
- Types of soldering: soft soldering, hard soldering, and brazing
**Week 2: Soldering Materials and Tools**
- Types of solder (lead-free, leaded, etc.)
- Flux types and their applications
- Introduction to soldering tools: soldering iron, soldering stations, desoldering tools, etc.
**Week 3: Safety Practices**
- Personal protective equipment (PPE)
- Ventilation and fume extraction
- Electrical safety and equipment handling
**Week 4: Through-Hole Soldering**
- Understanding through-hole components
- Step-by-step demonstration of through-hole soldering
- Hands-on practice: soldering a simple circuit
**Week 5: Surface Mount Soldering**
- Overview of surface mount technology (SMT)
- Tools and techniques for SMT soldering
- Hands-on practice: soldering surface mount components
**Week 6: Desoldering Techniques**
- Common reasons for desoldering
- Techniques for effective desoldering
- Hands-on practice: desoldering components from a circuit board
**Week 7: Troubleshooting Soldering Issues**
- Identifying common soldering problems (cold joints, bridges, etc.)
- Techniques for fixing soldering errors
- Group discussion: share troubleshooting experiences
**Week 8: Advanced Soldering Techniques**
- Introduction to reflow soldering and wave soldering
- Overview of soldering for specific applications (e.g., automotive, aerospace)
- Hands-on practice: advanced soldering project
**Week 9: Project Work**
- Group project: design and build a simple electronic device using learned soldering techniques
- Planning and execution of the project
- Peer review and feedback
**Week 10: Course Review and Final Assessment**
- Review of key concepts and techniques
- Final assessment: practical soldering test
- Course feedback and evaluation
---
#### Required Materials
- **Textbook:** [Textbook Title and Author]
- **Tools:** Soldering iron, solder, flux, wire cutters, tweezers, safety glasses (students may be required to provide their own tools)
- **Additional Materials:** [Any other materials needed for the course]
---
#### Grading Criteria
- Participation and Attendance: 10%
- Weekly Assignments/Quizzes: 20%
- Hands-on Practice: 30%
- Group Project: 20%
- Final Assessment: 20%
---
#### Additional Information
- **Prerequisites:** None
- **Course Format:** Combination of lectures, demonstrations, and hands-on practice
- **Accommodations:** Students requiring accommodations should contact the instructor to discuss needs.
---
**Note:** This syllabus is subject to change based on class progress and needs. Students will be notified of any changes in a timely manner.
Learning Objectives
### Learning Objectives for Soldering Techniques Course
By the end of this course, students will be able to:
1. **Understand Soldering Fundamentals**
- Describe the basic principles of soldering, including the types of solder, flux, and soldering tools.
- Explain the importance of soldering in electronic assembly and repair.
2. **Identify Soldering Tools and Equipment**
- Recognize and differentiate between various soldering tools, including soldering irons, soldering stations, and desoldering tools.
- Demonstrate proper use and maintenance of soldering equipment to ensure safety and longevity.
3. **Prepare Workstations for Soldering**
- Set up a safe and organized soldering workstation, ensuring all necessary tools and materials are readily available.
- Implement safety protocols to minimize hazards associated with soldering, including the use of personal protective equipment (PPE).
4. **Execute Basic Soldering Techniques**
- Demonstrate proficiency in basic soldering techniques, including through-hole soldering and surface-mount soldering.
- Perform soldering tasks on various types of electronic components while adhering to industry standards.
5. **Inspect and Troubleshoot Solder Joints**
- Identify common defects in solder joints, including cold solder joints, bridging, and excessive solder.
- Apply troubleshooting techniques to diagnose and rectify soldering issues effectively.
6. **Conduct Desoldering Procedures**
- Demonstrate proper techniques for desoldering components from printed circuit boards (PCBs) without damaging the board or components.
- Utilize various desoldering tools and methods, including solder wick and desoldering pumps.
7. **Understand Advanced Soldering Techniques**
- Explore advanced soldering methods, such as wave soldering and reflow soldering, and their applications in modern electronics.
- Discuss the implications of different soldering materials and techniques on the reliability and performance of electronic assemblies.
8. **Apply Best Practices in Soldering**
- Develop and implement best practices for soldering in both professional and hobbyist settings.
- Evaluate and choose appropriate soldering techniques for specific applications based on component types and project requirements.
9. **Demonstrate Practical Skills**
- Complete hands-on projects that incorporate various soldering techniques, demonstrating competency and confidence in soldering skills.
- Collaborate with peers to perform soldering tasks, fostering teamwork and communication within technical settings.
10. **Assess and Reflect on Learning**
- Evaluate personal soldering work through self-assessment and peer review, identifying strengths and areas for improvement.
- Reflect on the learning experience and set goals for continued skill development in soldering and related technical areas.
These learning objectives aim to equip students with the necessary skills and knowledge to become proficient in soldering techniques, preparing them for careers in electronics and related fields.
Quiz Questions
Sure! Here are 5 multiple choice questions about soldering techniques along with the correct answers:
### Question 1:
What is the primary purpose of flux in soldering?
A) To cool down the solder
B) To remove oxidation from surfaces
C) To increase the melting point of solder
D) To create a stronger bond between metals
**Answer:** B) To remove oxidation from surfaces
---
### Question 2:
Which type of solder is most commonly used for electronics?
A) Lead-free solder
B) Silver solder
C) Plumbing solder
D) Aluminum solder
**Answer:** A) Lead-free solder
---
### Question 3:
What is the recommended temperature range for a soldering iron used in electronics work?
A) 50-100°C
B) 150-250°C
C) 300-400°C
D) 450-500°C
**Answer:** B) 150-250°C
---
### Question 4:
When soldering small components on a circuit board, what technique should be used to avoid overheating?
A) Apply solder directly to the iron
B) Use a larger soldering iron
C) Use a heat sink on the component
D) Solder quickly and move on
**Answer:** C) Use a heat sink on the component
---
### Question 5:
What is "cold solder joint"?
A) A joint that is not heated properly
B) A joint that has too much solder
C) A joint that has been overheated
D) A joint made with a low-temperature solder
**Answer:** A) A joint that is not heated properly
---
Feel free to ask if you need more information or additional questions!